지난 편에 이어서
이번에는 TensorFlow를 사용하여 이미지를 분류하는 API를 만들어보는 실습을 따라가보자.
main.py 코드 뜯어보기
app = FastAPI()
FastAPI 앱 인스턴스를 생성하고 설정합니다. -> FastAPI() 함수를 호출하여 생성하는 객체. 웹 애플리케이션을 나타내며, 모든 설정과 라우트를 포함합니다. 이 인스턴스에 라우트, 미들웨어, 이벤트 핸들러 등을 추가하여 애플리케이션을 구성합니다. (라우트, 미들웨어, 이벤트 핸들러에 대해서는 접은글에서 자세히)
라우트(Route):
웹 애플리케이션에서 특정 URL 경로와 그에 해당하는 처리 함수를 연결하는 것.
클라이언트의 요청을 적절한 처리 로직으로 '안내'하는 역할.
이런게 라우터..

HTTP 메서드: GET, POST, PUT, DELETE 등
URL 경로: "/", "/items/{item_id}" 등
핸들러 함수: 해당 경로로 요청이 왔을 때 실행되는 Python 함수
from fastapi import FastAPI

app = FastAPI()

@app.get("/")
async def read_root():
    return {"message": "Welcome to the home page"}

@app.get("/items/{item_id}")
async def read_item(item_id: int):
    return {"item_id": item_id}

@app.post("/items")
async def create_item(item: dict):
    return {"item": item, "message": "Item created"}

@app.get("/users")
async def list_users(skip: int = 0, limit: int = 10):
    return {"users": f"Listing users {skip} to {skip+limit}"}

@app.put("/items/{item_id}")
async def update_item(item_id: int, item: dict):
    return {"item_id": item_id, "item": item, "message": "Item updated"}
미들웨어 (Middleware):
미들웨어는 요청이 애플리케이션에 도달하기 전이나 응답이 클라이언트에게 전송되기 전에 실행되는 함수입니다.
미들웨어의 주요 용도: 인증 및 권한 확인, 로깅 (요청/응답 기록) ...
미들웨어는 요청/응답 처리 과정에 개입하여 애플리케이션의 동작을 수정하거나 확장하는 데 사용
이벤트 핸들러 (Event Handler):
이벤트 핸들러는 애플리케이션의 특정 이벤트(예: 시작, 종료)가 발생했을 때 실행되는 함수입니다.
주요 용도: 데이터베이스 연결 설정/해제, 초기 데이터 로드
애플리케이션의 전체적인 생명주기를 관리하는 데 사용
으아아악
강사님 노트북에서 잘 돌아가는 코드가 내 노트북에서 실행하면 왜 안되는 걸까..?

오류 발생과 어찌어찌 해결한 과정..
문제가 됐던 코드
@app.get('/api/v1/predict')
async def image_predict(file: UploadFile = File(...)): # input: Image
    raw_data = await file.read()
    image_bytes_io = BytesIO(raw_data)
    img = Image.open(image_bytes_io)
    pred = predict(img)
    return pred
아래처럼 Server response 부분에 오류가 뜸.
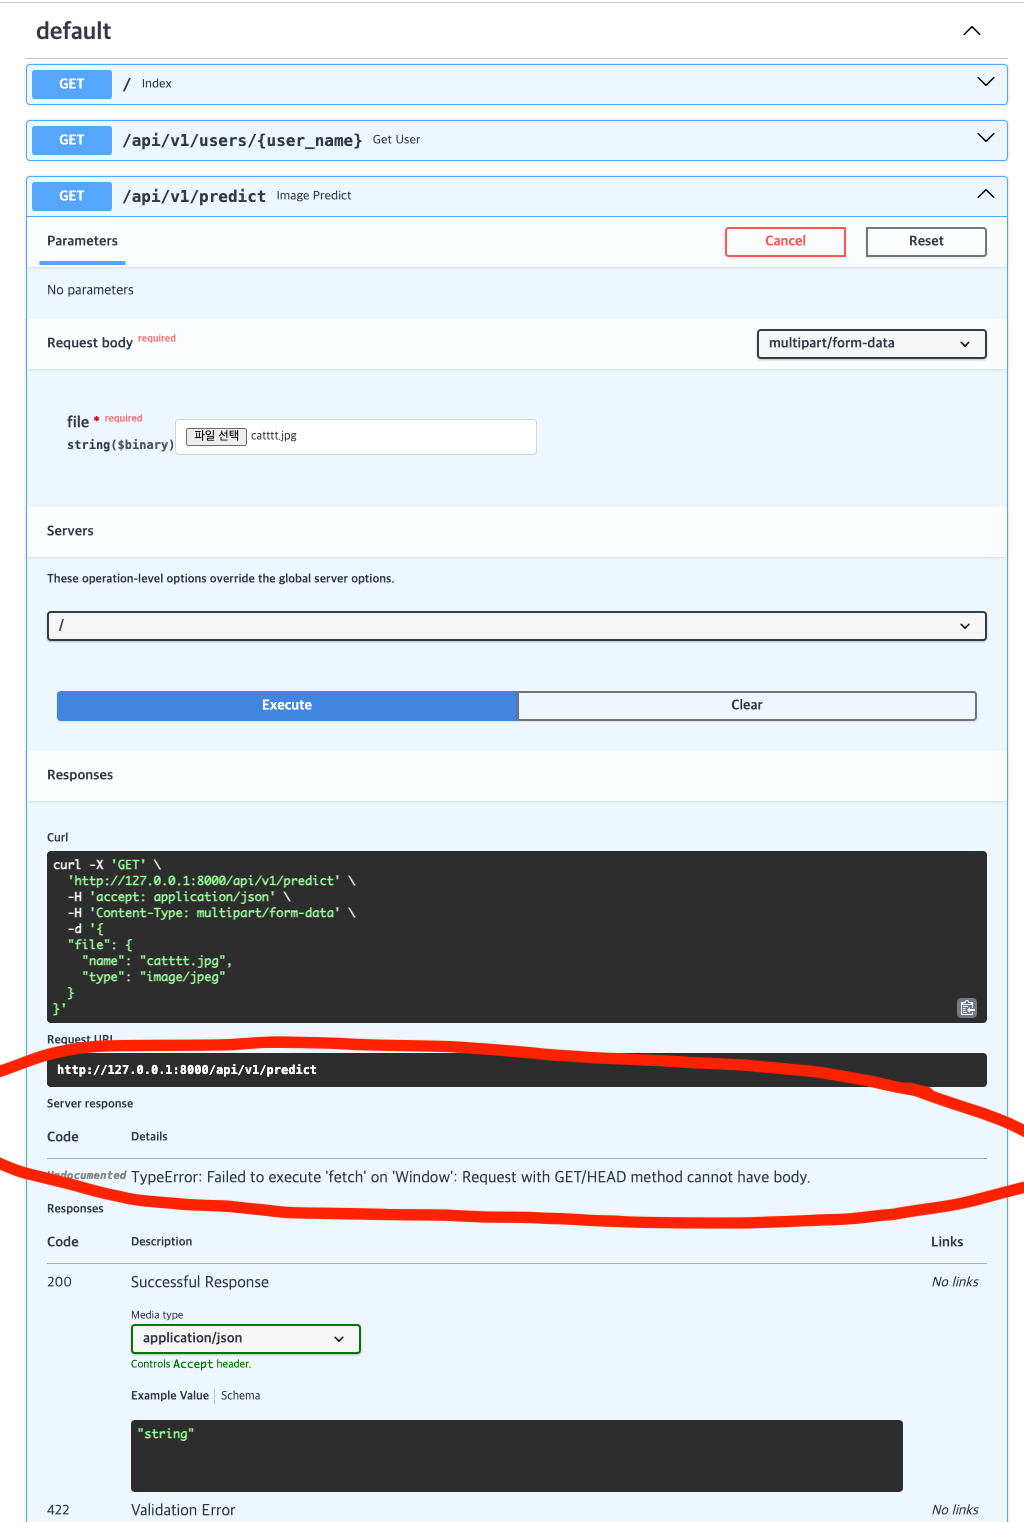
TypeError: Failed to execute 'fetch' on 'Window': Request with GET/HEAD method cannot have body.
클로드에게 물어봤는데, 이미지 업로드와 같은 작업은 GET 메소드가 아니라 POST 메소드로 변경하라고 하길래 변경 후 재시작.
고양이 사진을 넣고 다시 실행시켰는데, 처음에는 잘 돌아가는 듯 싶다가.. 다시 에러뜸.
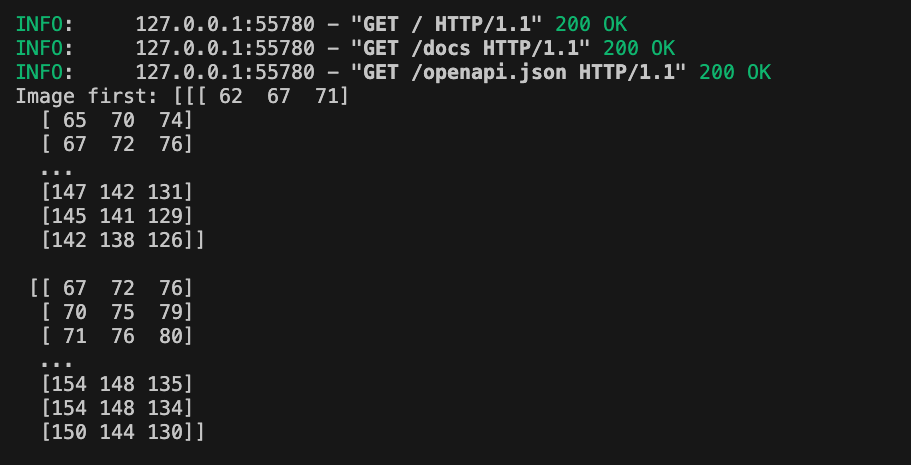
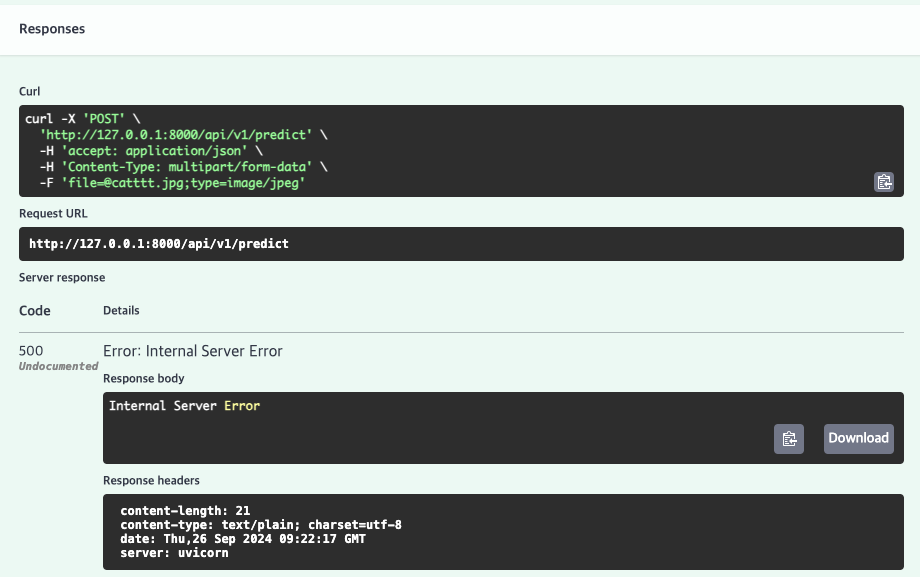
500Undocumented Error: Internal Server Error
위에 보면 출력은 됐는데…
500 Internal Server Error ERROR: Exception in ASGI application
꼼꼼히 오류 내용을 보다가 힌트를 얻어서 클로드에게 다시 물어봤다. 그리고 코드를 수정
- 서버 코드에 예외 처리를 추가
    except Exception as e:
        print(f"Error: {str(e)}")
        print(traceback.format_exc())
        raise HTTPException(status_code=500, detail=str(e))
- predict 함수 내 비동기 처리를 일관되게 사용
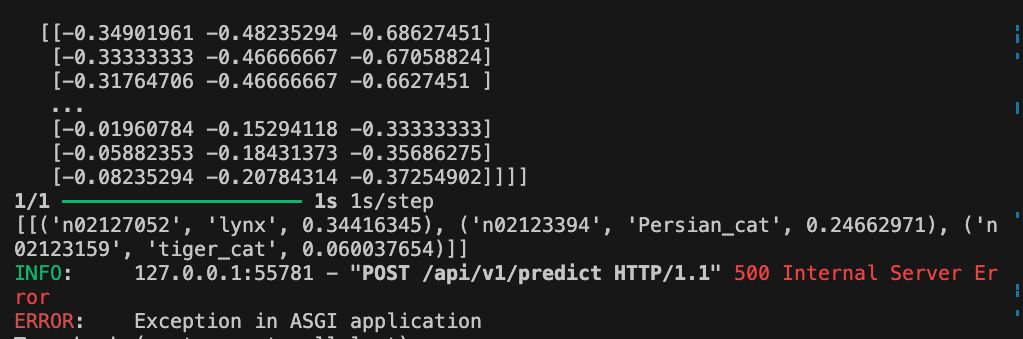
- 오류 내용 중에 FastAPI가 응답을 JSON 형식으로 직렬화하려고 할때 오류가 발생했다고 해서 numpy 수정… data = vars(obj) TypeError: vars() argument must have dict attribute The above exception was the direct cause of the following exception:
→ NumPy 타입을 Python 기본 타입으로 변환 (predict 함수가 반환하는 결과에 NumPy 배열이나 float32 값이 포함되어 있기 때문이라고)
클로드 설명
- jsonable_encoder 함수가 객체를 JSON으로 변환하려고 시도하고 있습니다.
- 이 과정에서 vars(obj)를 호출하여 객체의 속성을 딕셔너리로 변환하려고 합니다.
- 하지만 numpy.float32 타입의 객체는 __dict__ 속성이 없어 vars() 함수를 사용할 수 없습니다.
수정되어 잘 실행되는 코드)
main.py
from fastapi import FastAPI, UploadFile, File, HTTPException
from io import BytesIO
from PIL import Image
from predict import predict, numpy_to_python
import traceback

app = FastAPI()

@app.get('/')
def index():
    return {"Hello":"Welcome to the Image Classification API!"}

@app.get('/api/v1/users/{user_name}')
def get_user(user_name):
    return {'user_name':user_name}

@app.post('/api/v1/predict')
async def image_predict(file: UploadFile = File(...)): # input: Image
    try:
        raw_data = await file.read()
        image_bytes_io = BytesIO(raw_data)
        img = Image.open(image_bytes_io)
        pred = await predict(img)  # predict를 비동기 함수로 변경

        return pred

    except Exception as e:
        print(f"Error: {str(e)}")
        print(traceback.format_exc())
        raise HTTPException(status_code=500, detail=str(e))
predict.py
from PIL.Image import Image # pip install pillow
import tensorflow as tf
import numpy as np
from model_loader import model
import asyncio

def numpy_to_python(obj):
    if isinstance(obj, np.integer):
        return int(obj)
    elif isinstance(obj, np.floating):
        return float(obj)
    elif isinstance(obj, np.ndarray):
        return obj.tolist()
    else:
        return obj

async def predict(image: Image): # pydantic -> type check
    # img => 규격화(인풋 이미지의 사이즈 정규화)
    image = np.asarray(image.resize((224, 224)))[..., :3] # Framework => () 값을 입력을 많이받습니다. | RGB
    # print(f'Image first: {image}')
    image = np.expand_dims(image, 0)
    # print(f'Image second: {image}')
    image = image / 127.5 - 1.0 # Scaler => -1 ~ 1 사이의 값을 갖게 됩니다.
    # print(f'Image third: {image}') # IO => 영상까지도 건들게 되겠죠.

    predictions = await asyncio.to_thread(model.predict, image)
    results = tf.keras.applications.imagenet_utils.decode_predictions(predictions, 3)

    converted_results = [
        [(class_id, class_name, numpy_to_python(score)) for class_id, class_name, score in result]
        for result in results
    ]

    print(converted_results)
    return converted_results
model_loader.py
import tensorflow as tf

def load_model():
    model = tf.keras.applications.MobileNetV2(weights='imagenet')
    print('MovileNetV2 model successfully loaded ...')
    return model

model = load_model()
이렇게 하니 실행 잘 됨!!!
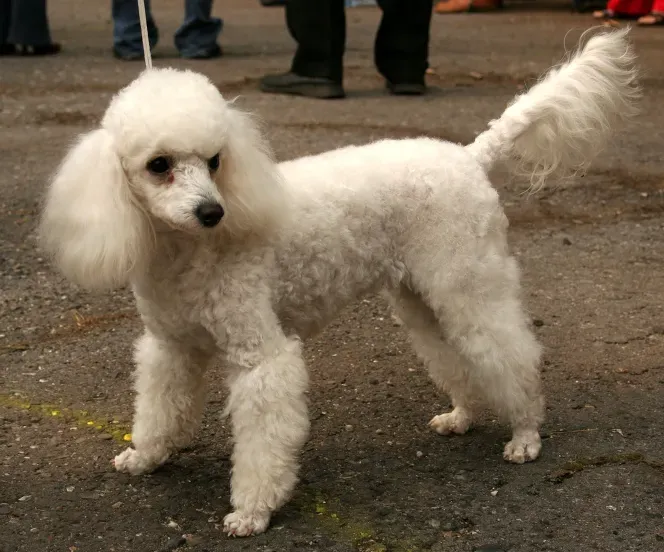
푸들 사진을 넣었더니
[[('n02113712', 'miniature_poodle', 0.44333136081695557), ('n02113624', 'toy_poodle', 0.20264704525470734), ('n02113799', 'standard_poodle', 0.05915748327970505)]]
푸들이라고 알아본다.
'공부방 > Upstage AI Lab 4기' 카테고리의 다른 글
| 아파트실거래가 예측 코드에 MLflow 덧붙이기 (3) | 2024.10.01 |
|---|---|
| TinyBert Model로 문장 속 감정 분석하기 (3) | 2024.09.27 |
| [FastAPI] FastAPI 기본 사용법, 프로젝트 세팅하기 (1) | 2024.09.26 |
| 가상환경 깔고나서 가상환경이 있던 폴더 이름 바꾸지 말자!!! (0) | 2024.09.25 |
| 데이터프레임 merge할 때 중복값 때문에 shape이 망가진다면 (0) | 2024.09.25 |


